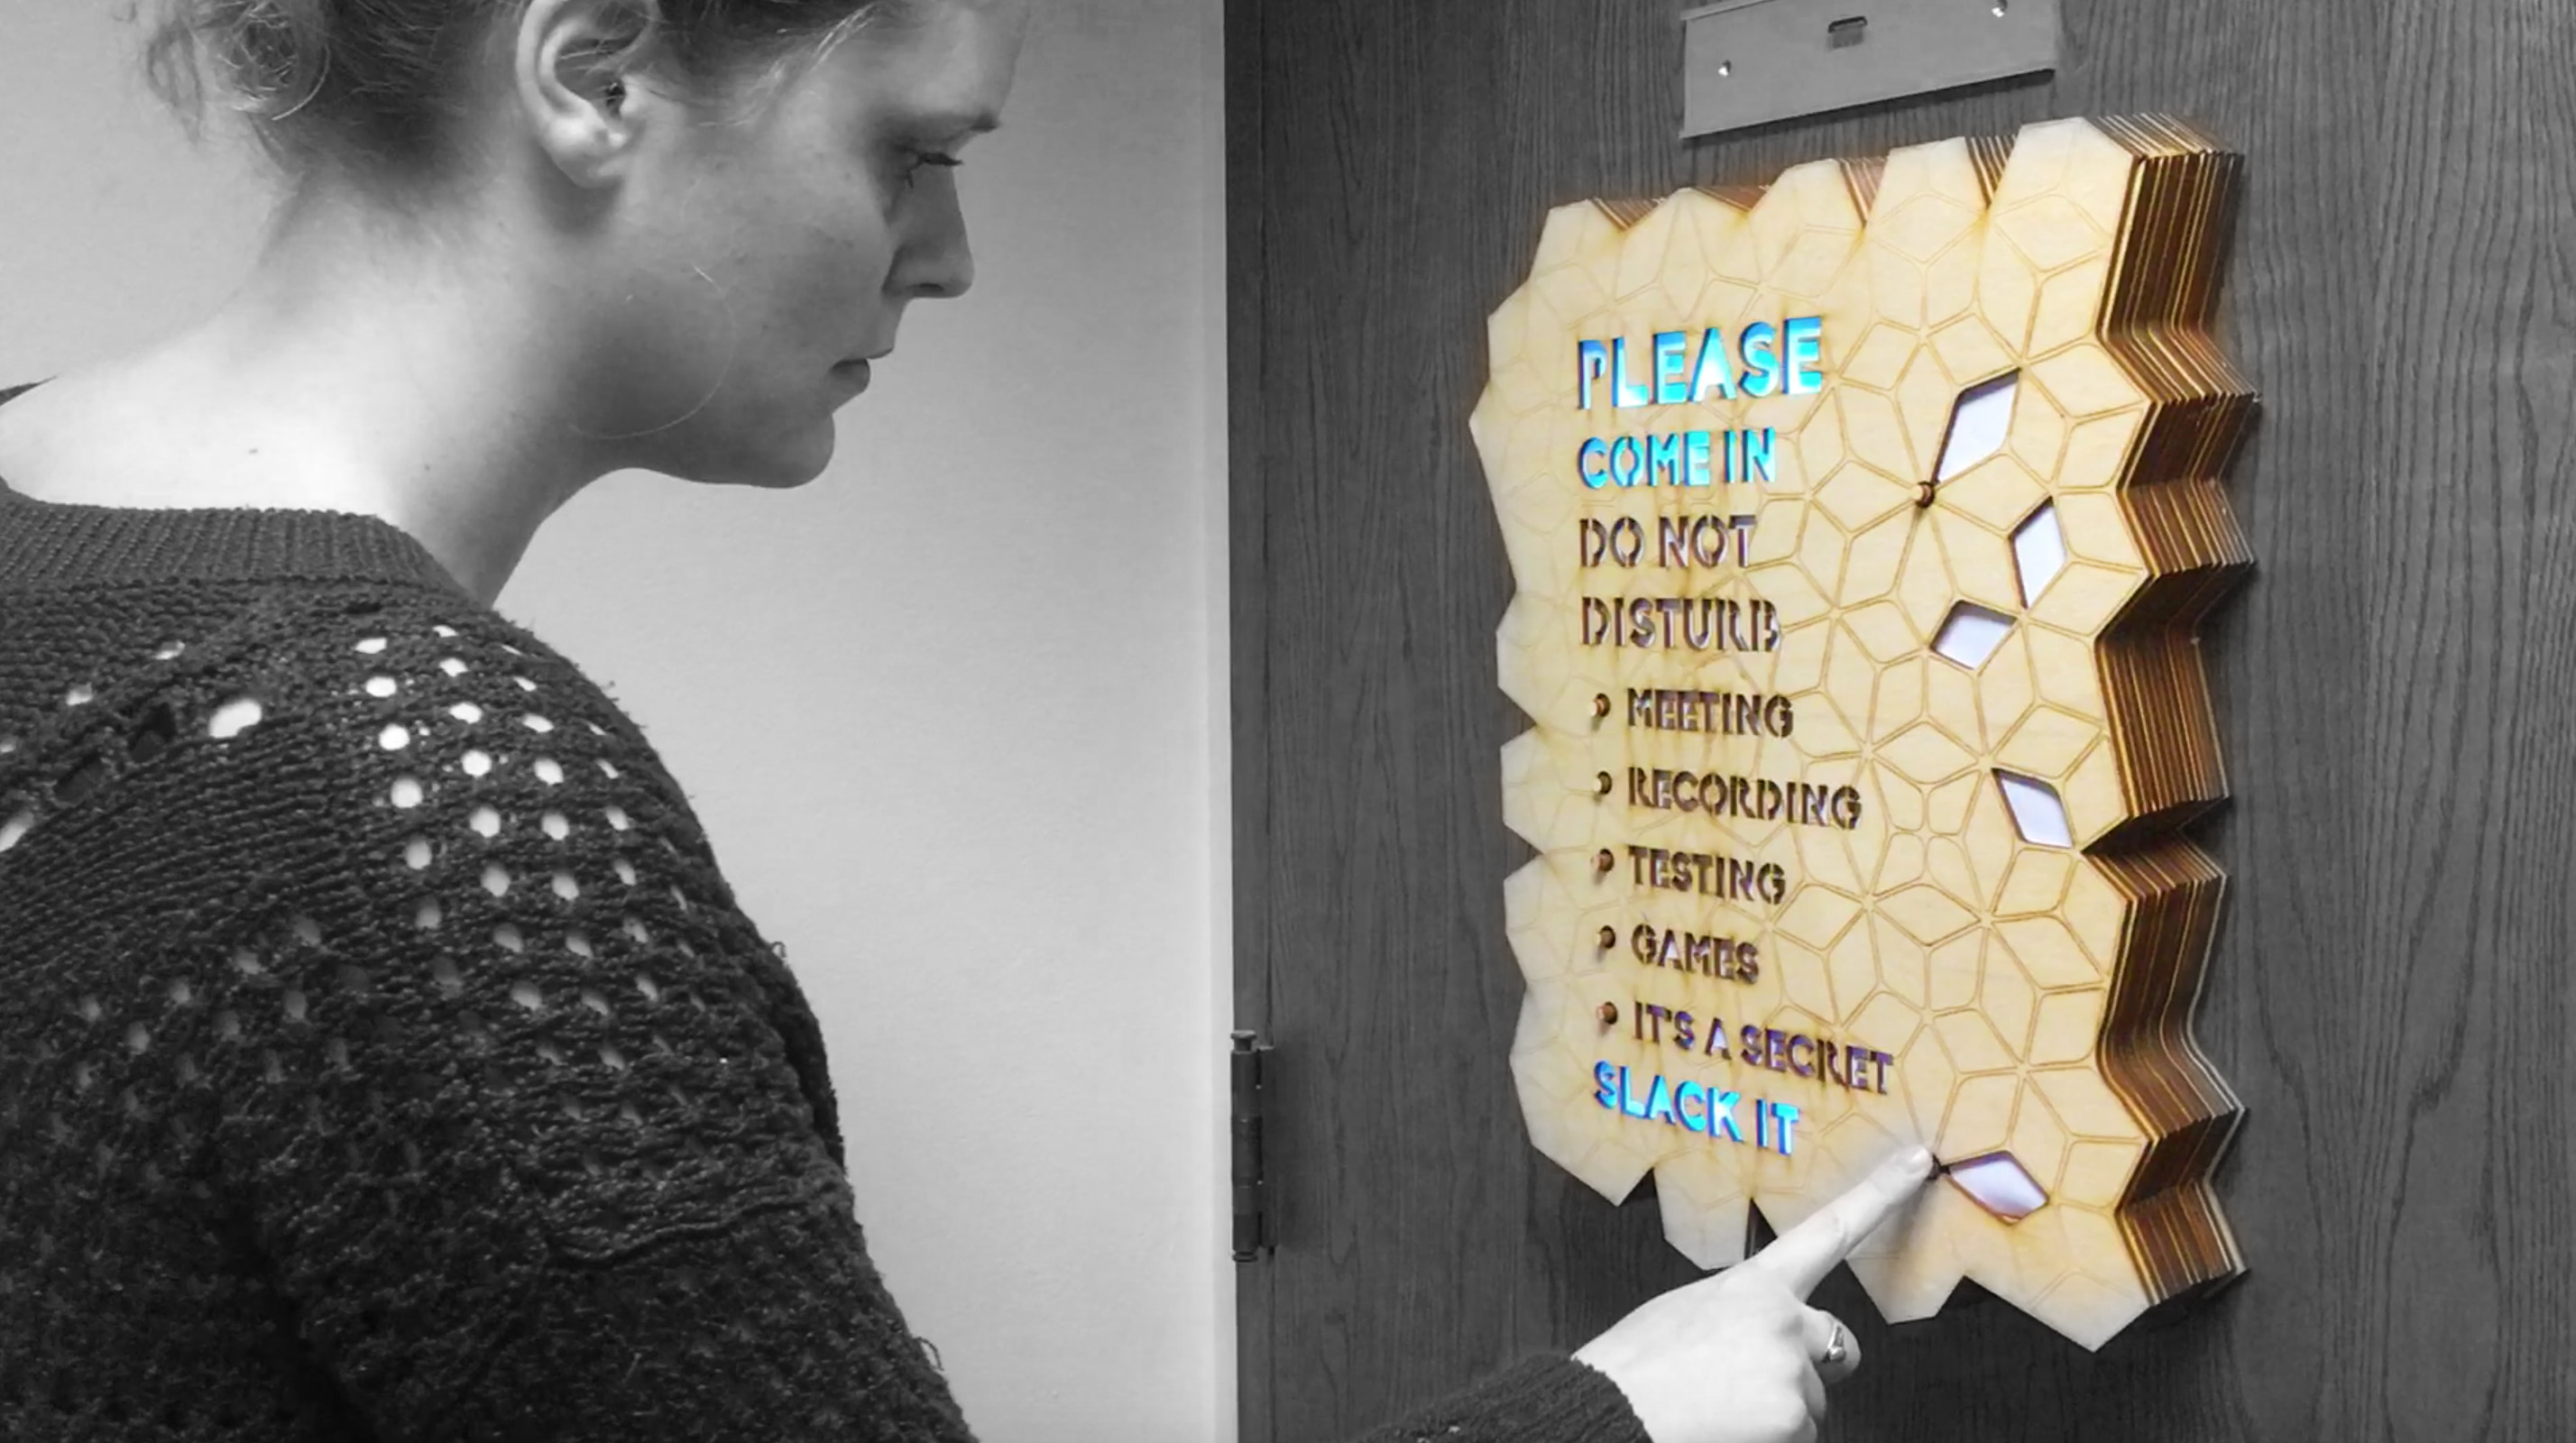
Meet Monty, the slackbot
We fabricated an interactive door sign that broadcast room status messages to our studio slack channel
Prototyping Studio Project2 weeksDesign & fabrication |
My roleVisual design and constructionDigital fabrication |
TeamAnmol AnubhaiAlex Pham |
Video shot and edited by me
Problem: A room with no view
The MHCI+D studio space had two windowless meeting rooms. It was hard to tell what level of privacy a closed door asked for.
My team wanted to build something meaningful for our studio space. We surveyed our classmates and decided to solve the ambiguous closed door problem with an interactive sign.
Starting with needs
Before planning the look of the sign, we considered the types of interaction our classmates would want with a door sign.
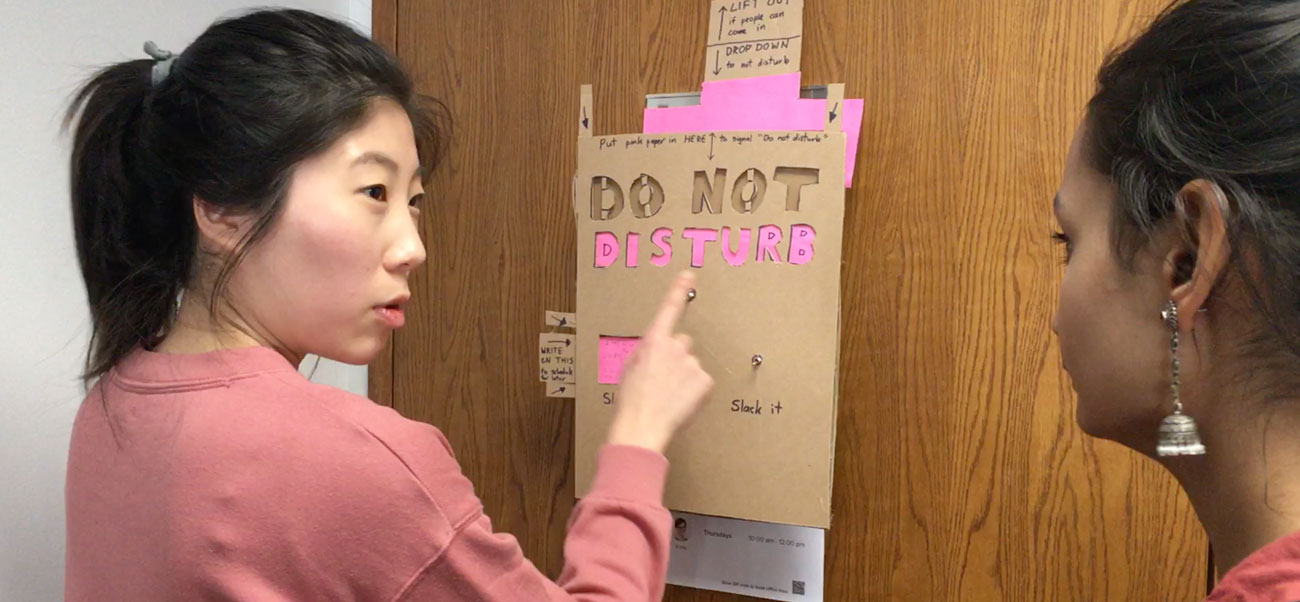
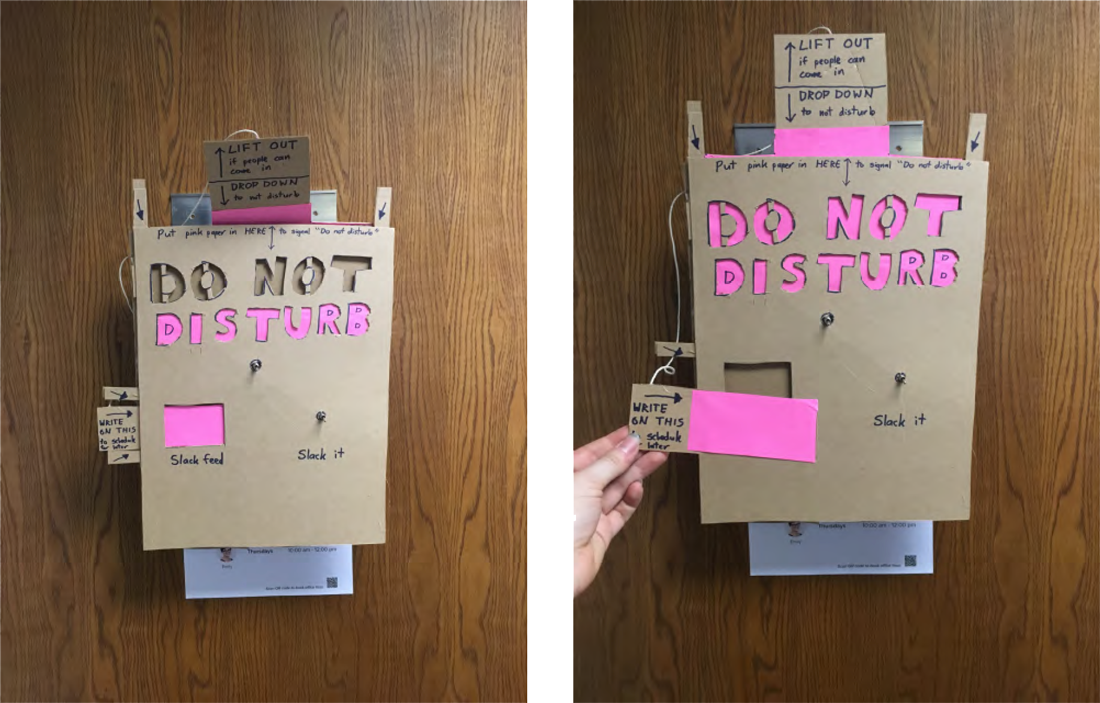
Low-fi
We installed low-fi model prototypes on studio doors, and conducted both observations and tests over the course of one week.
Here's my favorite cardboard prototype, which models interaction with a tiny LCD touchscreen (ultimately not used).
Considering resources
We knew our sign would need to be battery-powered and wifi enabled to make it a robust door installation. This limited us to a certain number of data and power pins as we considered different possibilities for arduino controllers and circuits.
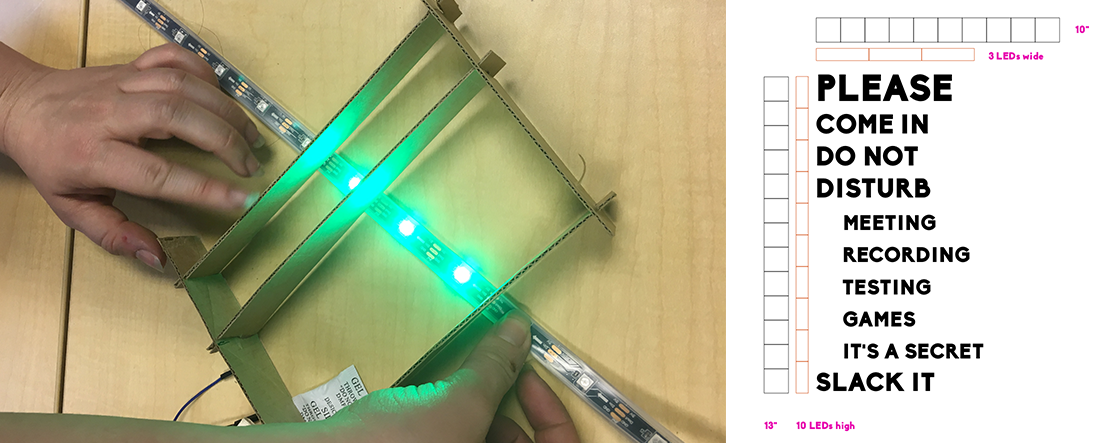
As our sign fabricator, I planned our interface around the position of lights and circuit capabilities, balancing visual design with our power and data capabilities.
More cardboard
I also used low-fi modeling to develop our final prototype. Iterating through cardboard patterns helped minimize material use and laser cutting time during our compressed, two-week sprint.
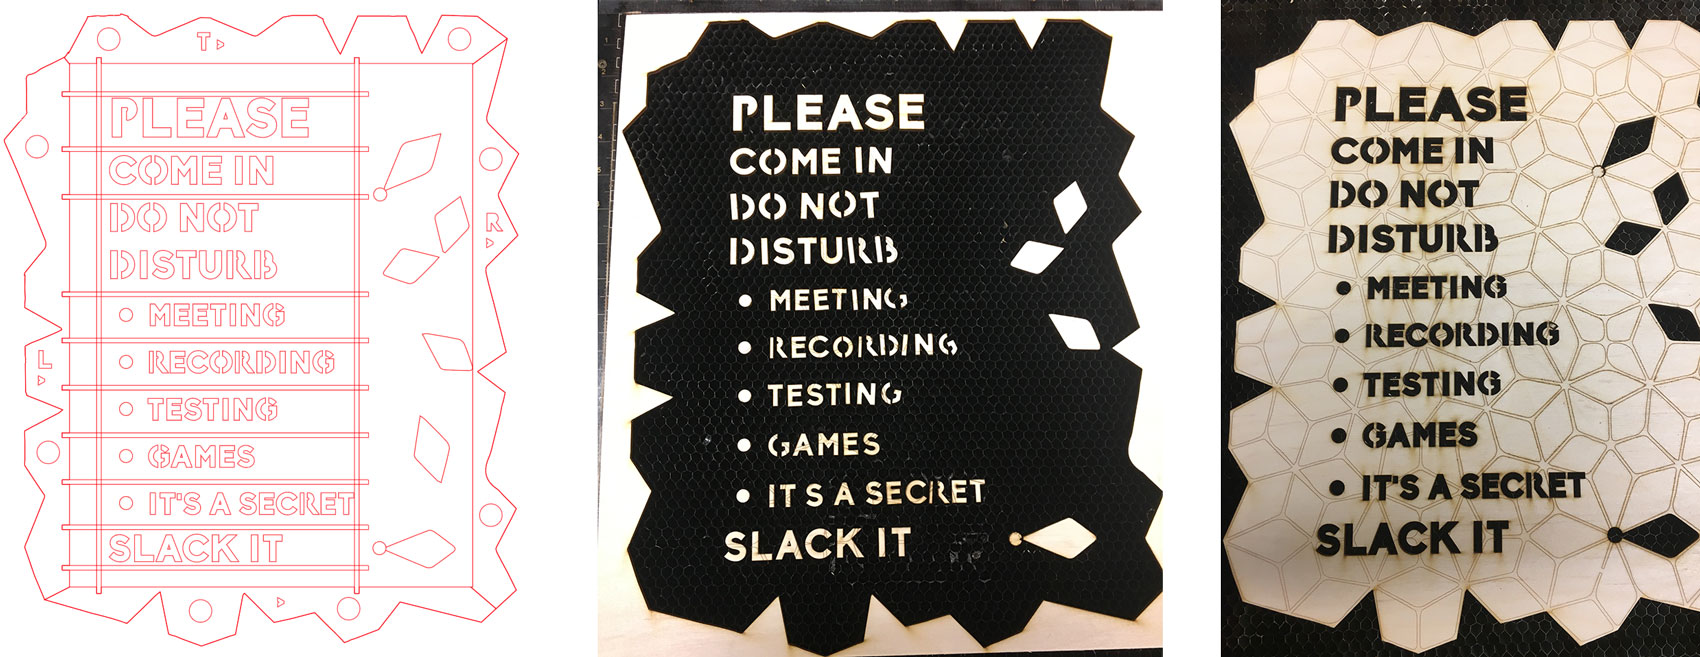
Inputs
01 / |
An on/on toggle swapped the main sign option between "Please come in" and "Do not disturb" |
02 / |
We narrowed our classmate's room status requests into five status options, from "Meeting" and "Recording" to "It's a secret" |
03 / |
At the bottom of the sign, a "Slack It" button stood out further than other inputs. Once pressed, the status of all sign buttons was sent to the chatbot and posted in Slack. |
Feedback
Button presses triggered colored lights, illuminating active options. Once "Slack It" was pressed, all lights cycled Vegas-style to confirm the transmission.
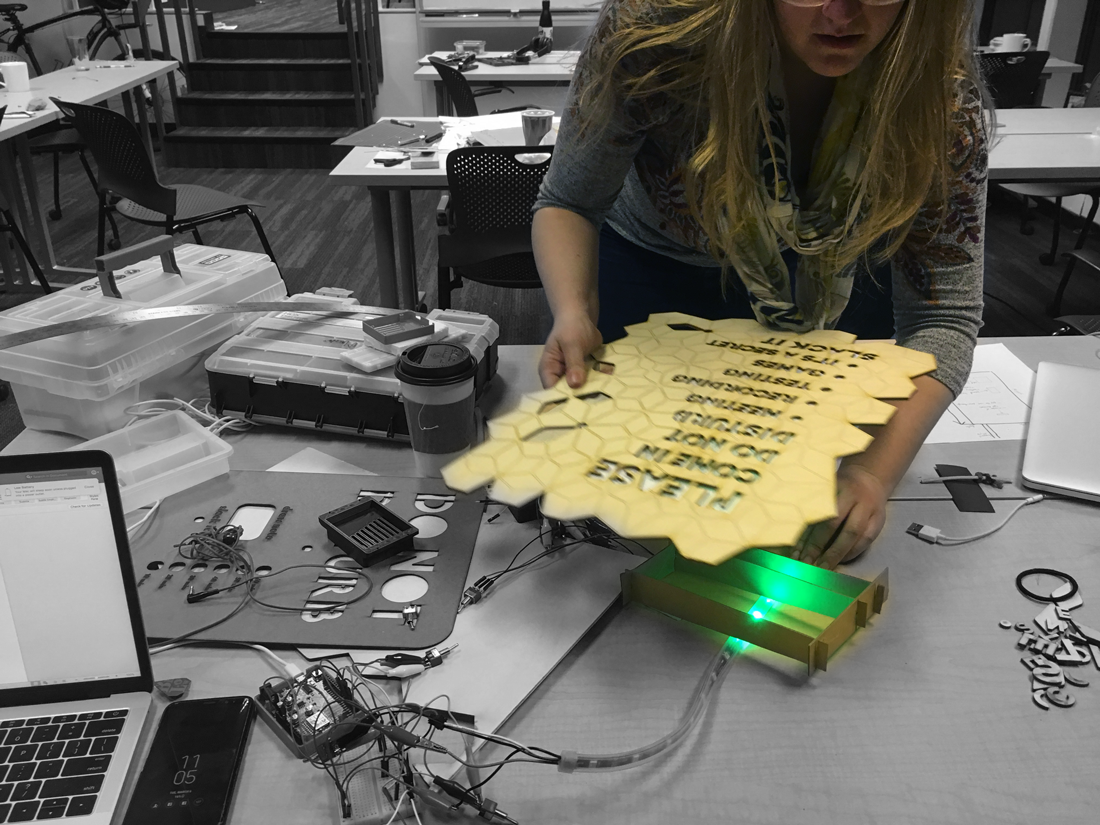
Monty's buttons and neopixels live in laser-cut housing.
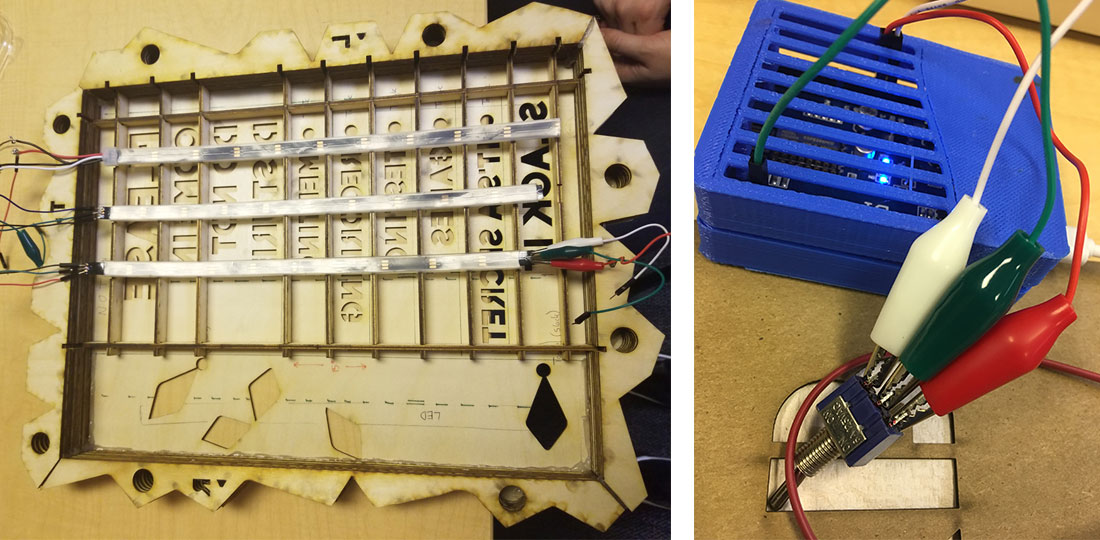
The power source and wifi-enabled microcontroller live directly behind the sign in 3D-printed housing.
Frame
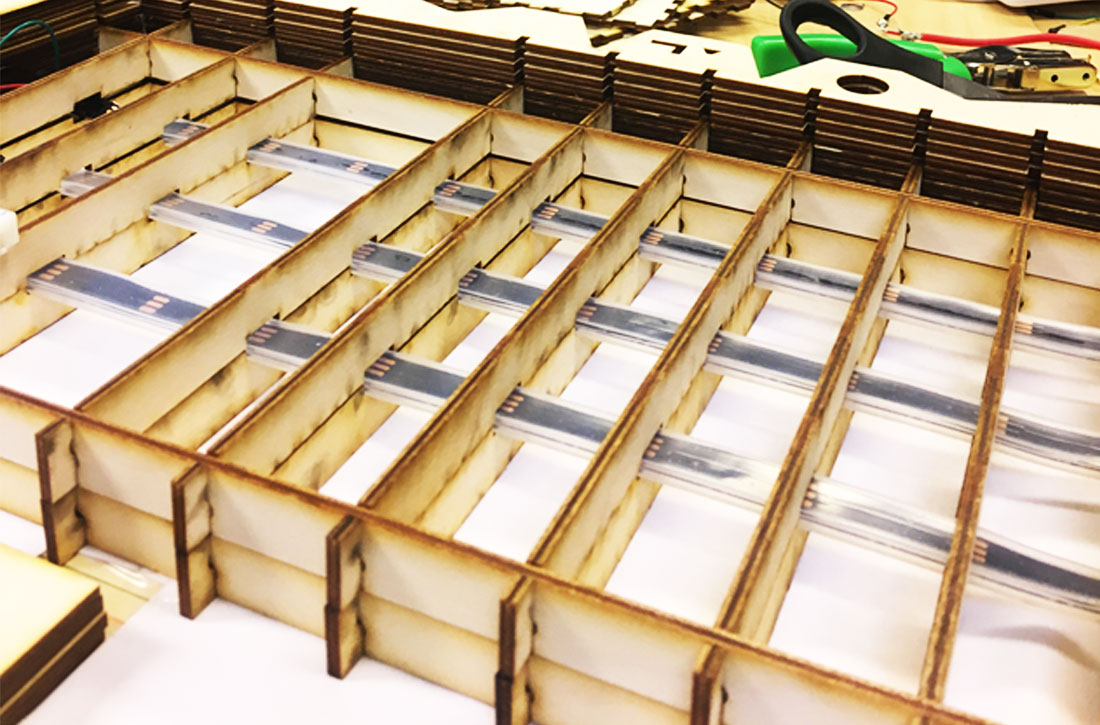
I tested neopixel light diffusion at different distances from the front of the sign. A depth of 0.7” gave us the ideal brightness and range. I designed a frame of notched wooden strips that would hold the three neopixel strands securely at this height above the diffusion paper, and segment light between different text openings for clear feedback.
This internal frame was designed for easy removal. I didn’t want to glue electronic components in place in case we needed to swap out components, so the whole thing snapped together like a jigsaw puzzle.
One of the laser cutting vector files, with individual frame pieces laid flat.

Monty lit up our studio and answered a real need.
Tools
3D printer
Laser cutter
Arduino
Rhino
Fusion 360
Illustrator
Sketch
Premiere
Projects


| © Sarah Outhwaite, 2021 |